 |
| Jones Design Company |
 |
| Etsy |
This is what you'll need:
foam wreath
1 to 1 1/2 yards of burlap
hot glue gun
straight pins
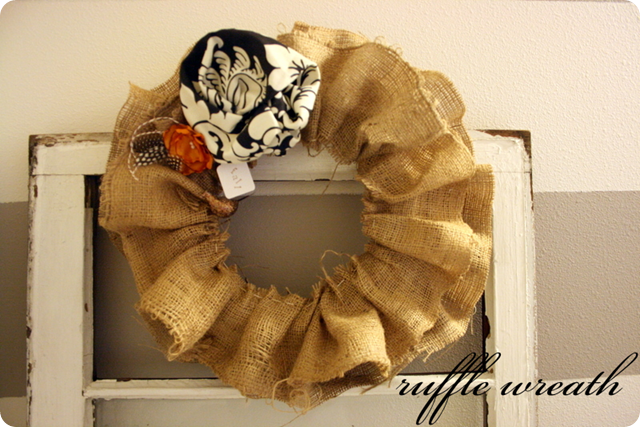
I cut the burlap into three, 2 to 3 inch strips. I then wrapped them around the wreath securing with hot glue and pins until the entire wreath was covered.
The rest of the burlap I cut into 6 inch strips. I sewed the long ends together to make a tube. I then pulled it through so the seam was on the inside. This is when I began to gather and glue it around the wreath.
I tucked a little of the fabric under itself, attaching with the hot glue and securing with the straight pins.
It took almost two of the long tubes of burlap I had sewn
to complete the first layer.
I repeated the process, this time attaching the ruffle to the center of the wreath.
After both layers of ruffles were on I tried to smush the back layer down a bit by pushing straight pins through every few inches to make it poof a bit. I also did this with the front layer. The pins go in nice and tight if you stick them through a spot where there is some glue.
Happy Fall!
PHOTOGRAPHY CHALLENGE
Day 13
A picture of yourself with 13 things...seriously, I think you've seen enough of me in pictures. And 13 things...hmmmm...how about the number 13...
These cute jars were picked up for me by a super friend who knows my love for anything numbered!
Happy Tuesday!
Rachel :)


2 comments:
Your wreath is great. I would love to make one I just don't think I would have the patience.
Stoppng by from Its Fall Y'all with Rhoda.
Come check me out at Funkymom Cards
http://funkymomcards.blogspot.com/2011/09/fall-porch.html
I Love your burlap wreath. lots of work but so worth the trouble.
Post a Comment